Photopolymer plates are fun but intimidating things. These are a thin steel sheet coated with a soft film of UV-sensitive monomers. When exposed to a strong UV light (precisely 365nm for the curious), those monomers link up together to form an ultra-hard polymers. The remaining un-linked monomers wash away in water.
What is this for? Well, you can use these to make all kinds of printing plates using the power of the sun. In my case, in the photogravure process, I use an inkjet to print a black-and-white image directly onto the surface of the plate. Then, I expose that plate to the sun, and where the black ink blocks the sunlight the plate remains soft; where the blank ink is less dense (or where there isn’t ink at all), the UV light hardens the plate. The result, after washing out, is suitable for running through an etching press.
But here’s the thing. These plates were designed for tightly-controlled industrial printing processes, with finely-tuned UV exposure machines, not weirdos like me who want to get out in the hot Lisbon sun. The sun is a fickle thing, the time of year, the time of day, the amount of haze, the presence of clouds, they all cause that sweet sweet source of suntans to vary, a lot.
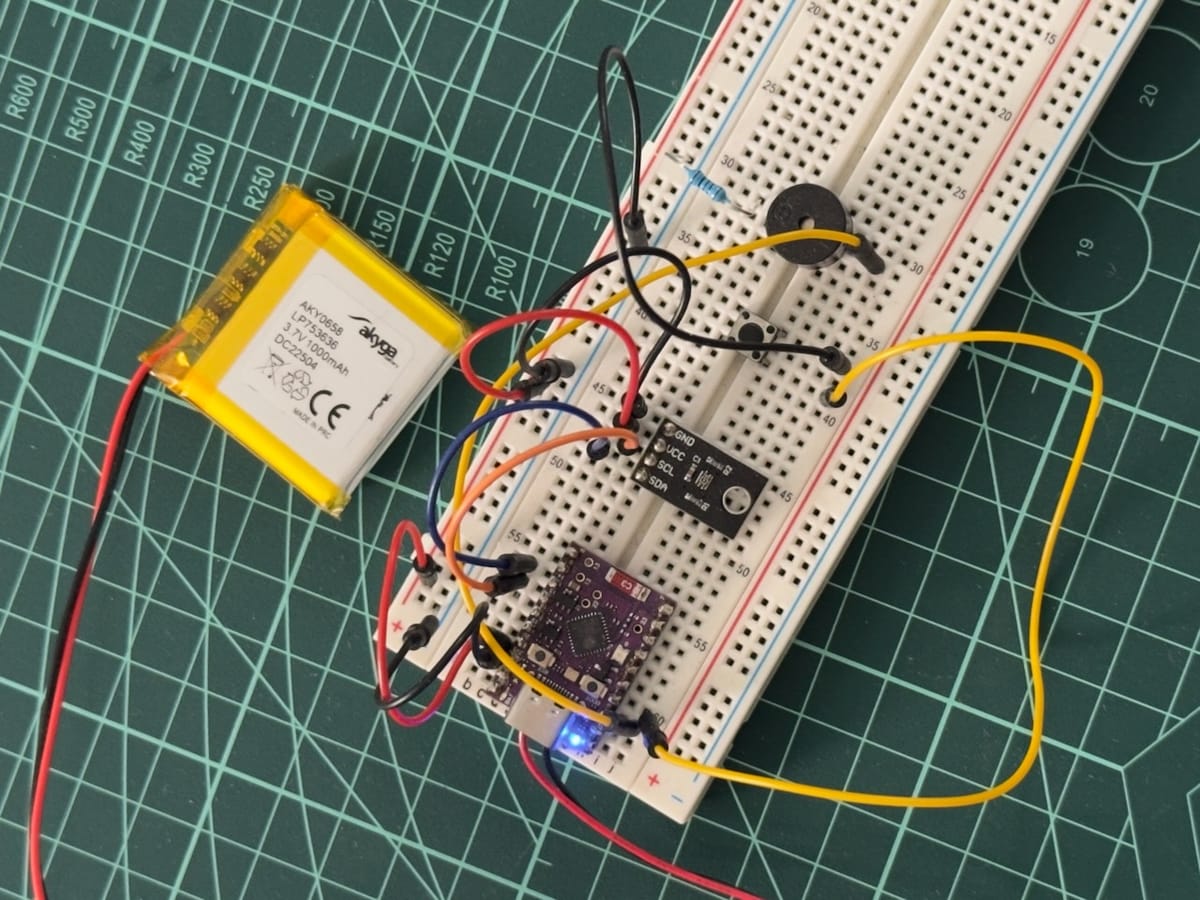
So, what to do? Having dabbled in electrical engineering, I build a UV dosimeter of course! This is a device with a highly sensitive UV sensor (tuned to 365nm…you can guess why this part was manufactured, for those industrial machines), and a little computer that calculates the total exposure received. I can tell it: I want this much exposure to UV, and it tells me when it has received just that much, regardless of the actual sun conditions. Cloud passes overhead? No big deal.
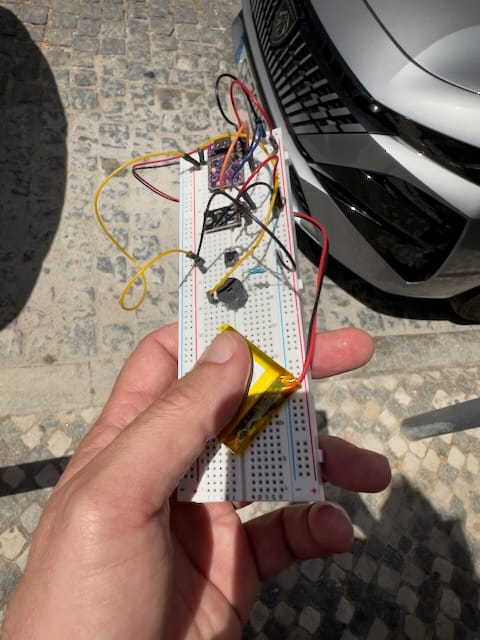
(And I bet at least some of you are reading this and thinking…cyanotpyes. And you’d be absolutely right, this device works with anything you want to expose to the sun. We should talk.)
I’ll be trying it out very soon, when I make up my first photogravure calibration plate. I’ll let you know how it goes.
Technical Details
Hardware
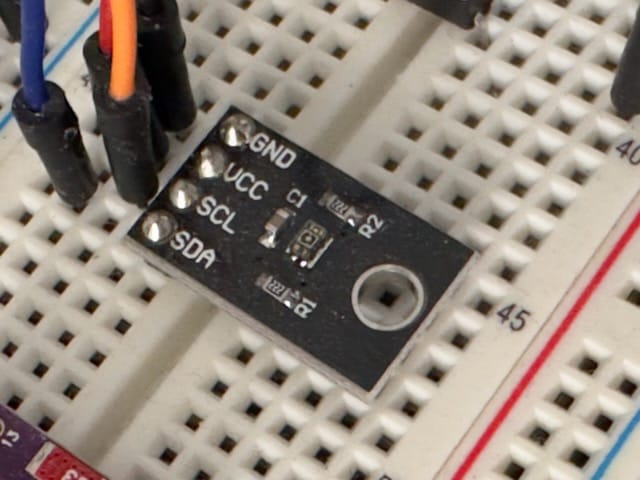
The UV sensor is a VEML6075—unfortunately these are no longer made, which is a shame because they’re perfect, but you can still find NOS units. It’s an I²C device that measures UVA @ 365nm, and UVB @ 330nm, and also calculates the UV Index from those, and makes those measurements available on the bus. The datasheet doesn’t say what units are used, but between the datasheet and the application note, I’m pretty sure that the measurements are in mW/cm², albeit technically uncalibrated. My own loose and ready measurements suggest that it’s dialed in enough for our purposes, in that it tells me that the noon summer sun in Lisbon is outputing UVA at about 3mW/cm², which is about what you’d expect I hear. Anyway, it’s in the right ballpark, and all we need to know is that the numbers are consistent even if they’re not accurate.
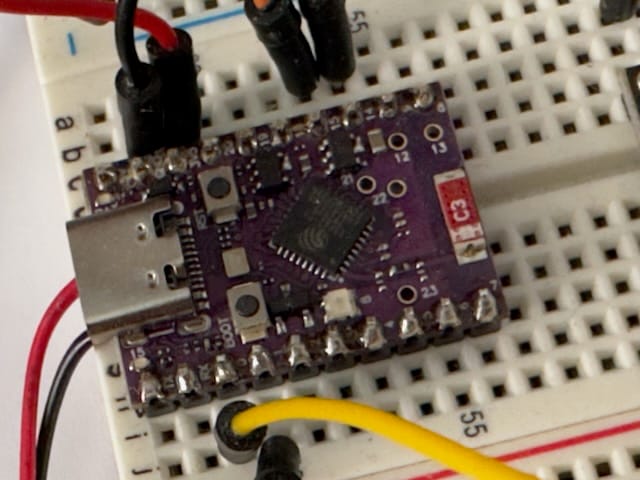
The UV sensor is driven by a ESP32-C6 Supermini microcontroller that I picked up for cheap. What's great about this device is it contains a Li-Po battery charging regulator and Bluetooth Low Energy. This means we can power the whole thing from a small LiPo cell, recharge it via USB, and talk to it from a mobile app over BLE. The code basically just polls the VEML6075 at fixed intervals, and when a request to start counting comes in over BLE, it starts integrating those value, and reporting back. The firmware is little fancier than that, and I'll get it up where you can see it soon enough.
Mobile App
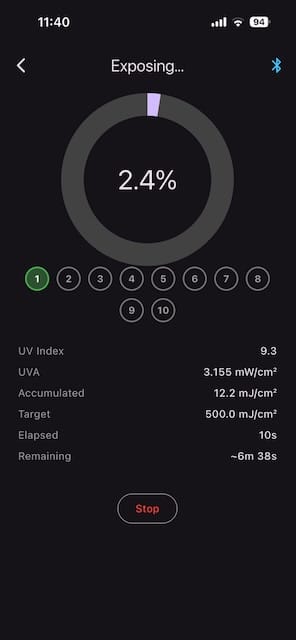
Did I mention a mobile app? Yes, I did. I can’t resist the allure of Flutter. The app itself just provides a clean interface over what the hardware is doing, giving you the option to run a calibration session, in which you tell it the maximum dosage and the number of steps, and the device and the phone both ding to get your attention when it's time to expose a new test strip. And once you have your exposure dialed in, you can just request a notification when your plate is done baking in the sun.
Right now it’s iOS only, because BLE support on Android is spotty, and also I don’t have an Android phone handy to test on. Sorry.
Source Code
Source code to everything is available under the Hippocratic License.
Next Steps
Well, the next step is to get this off the breadboard, and onto a proper custom PCB. And design an enclosure for it maybe. That’s later though, because it’s usable as it is. But maybe that’s something you’d like?